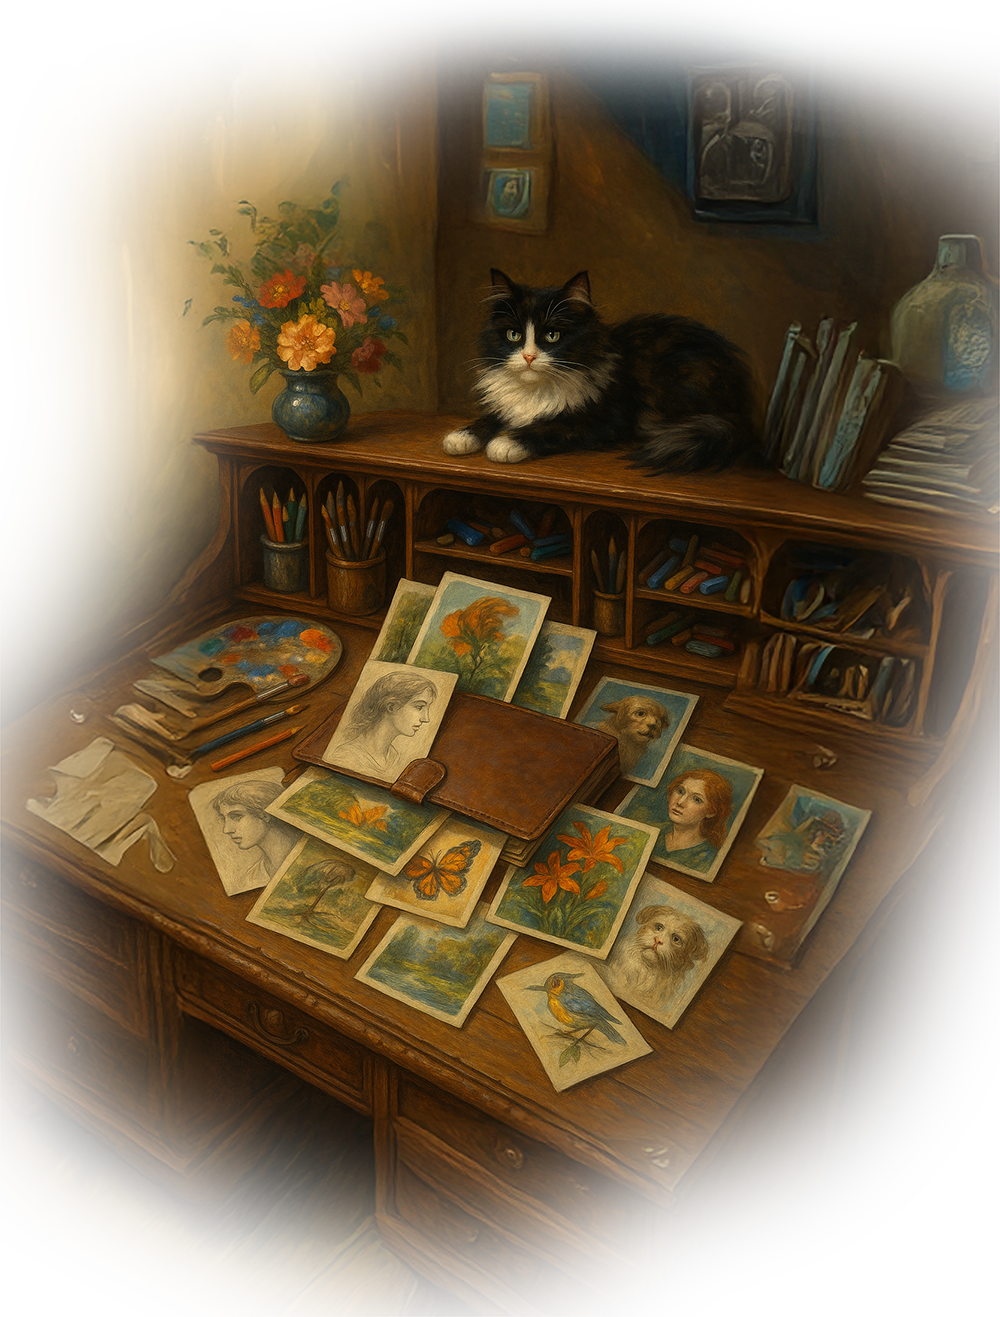
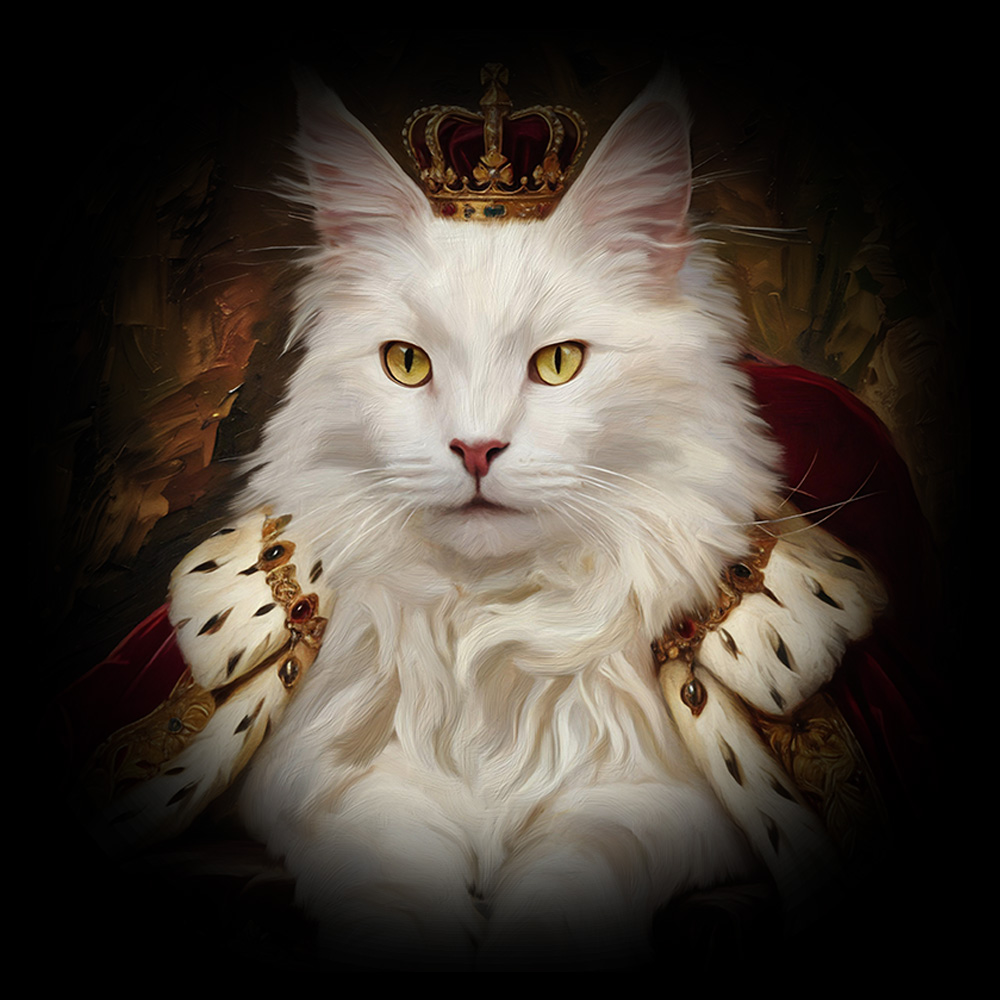
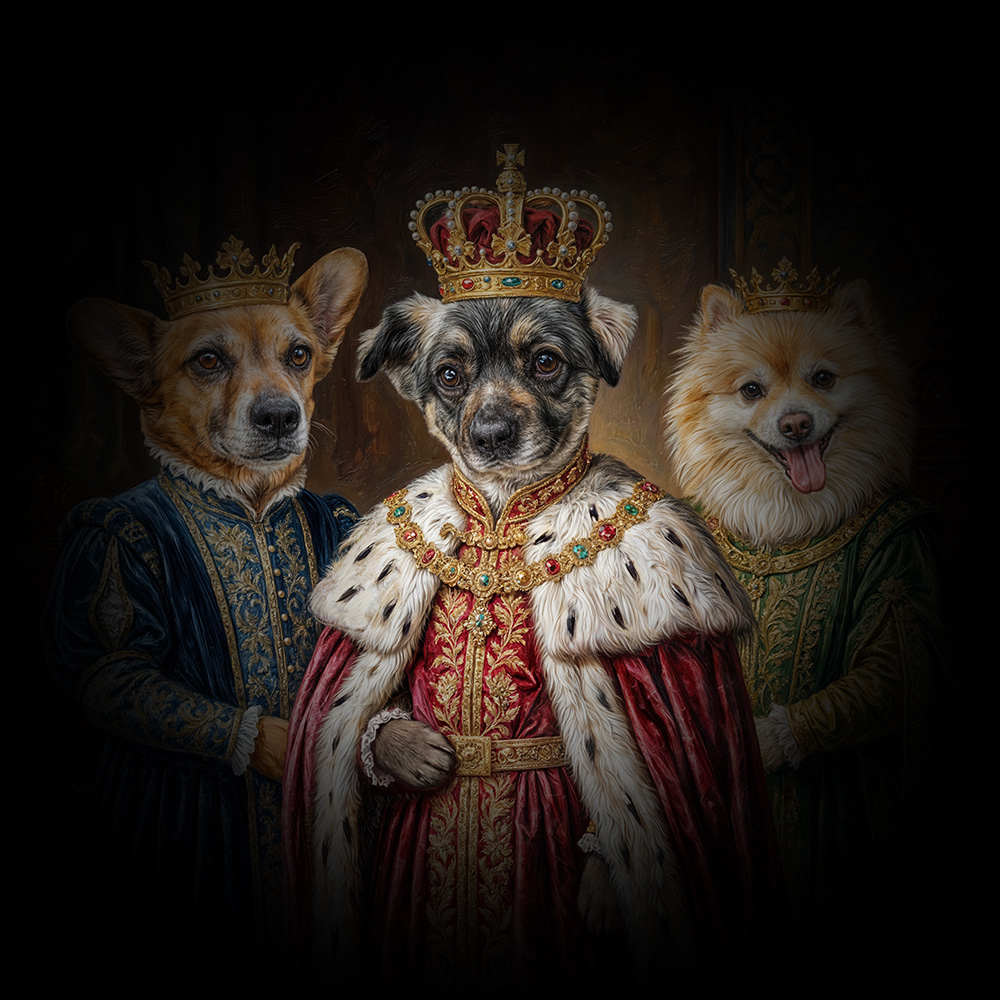
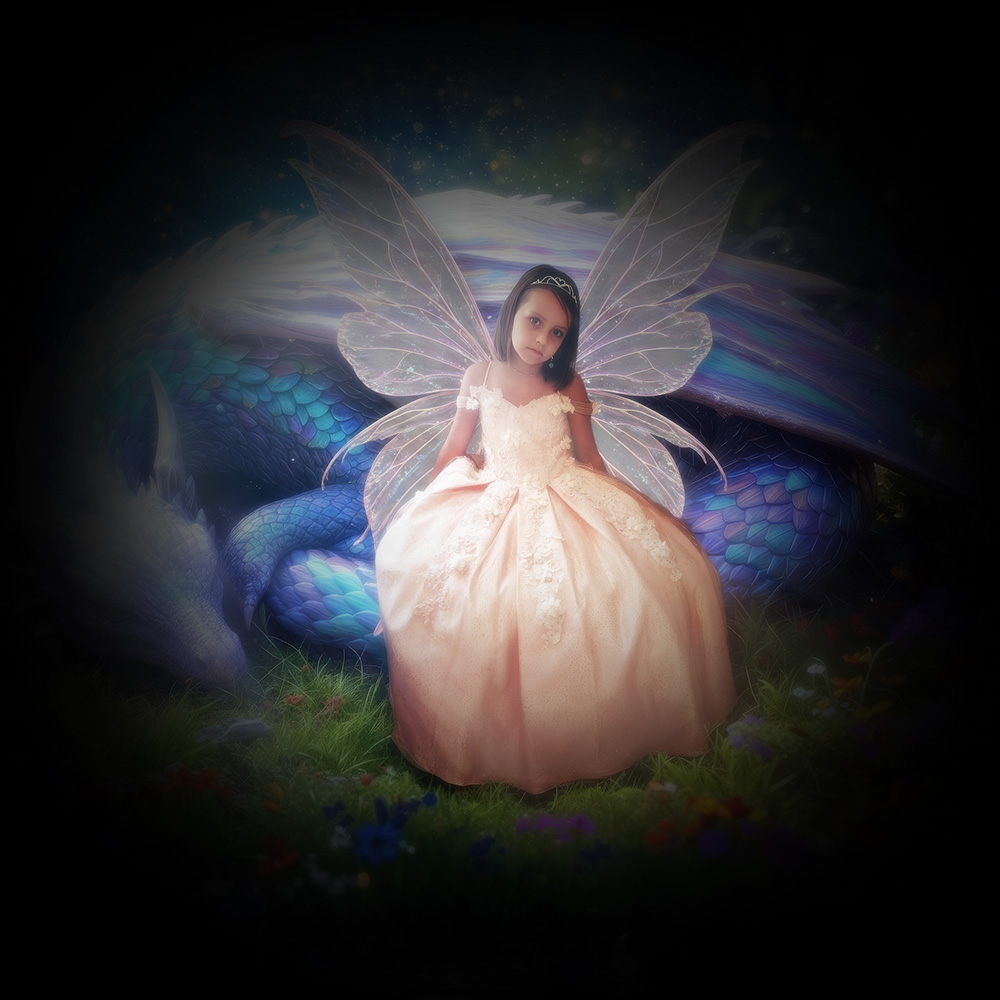
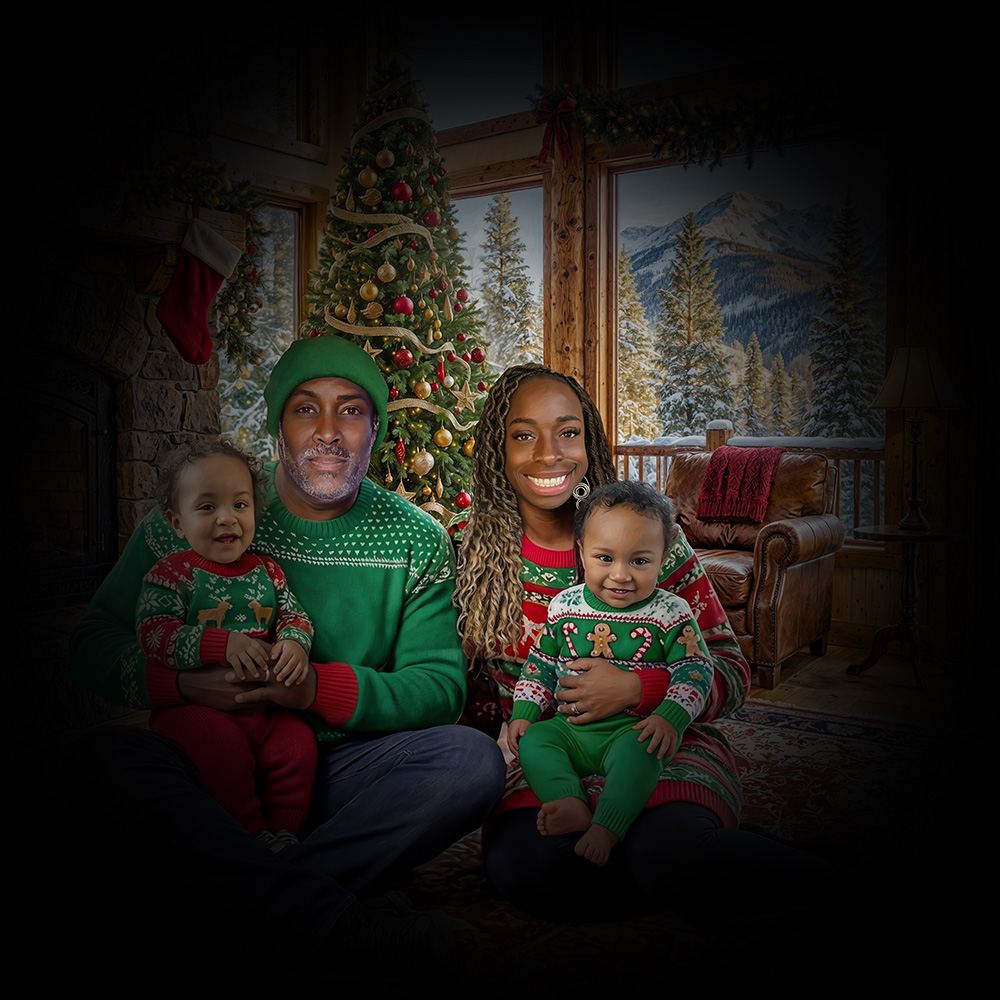
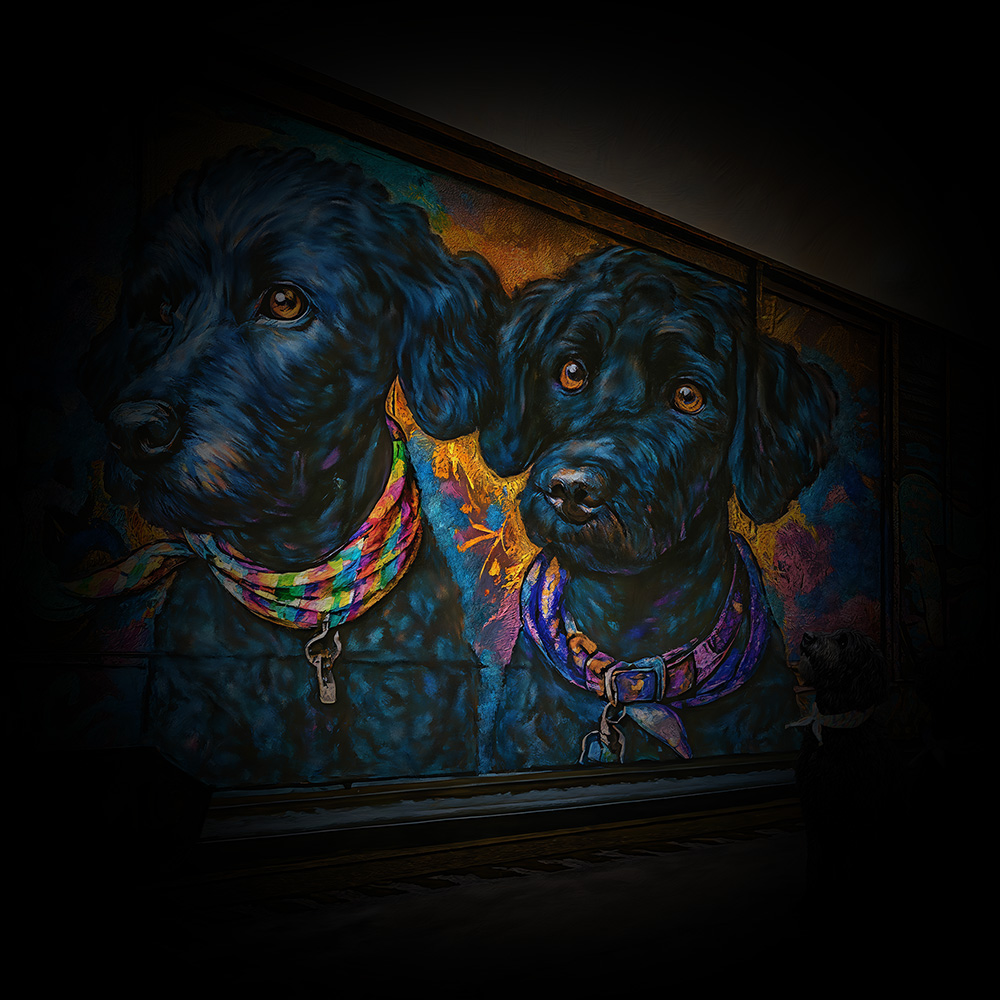
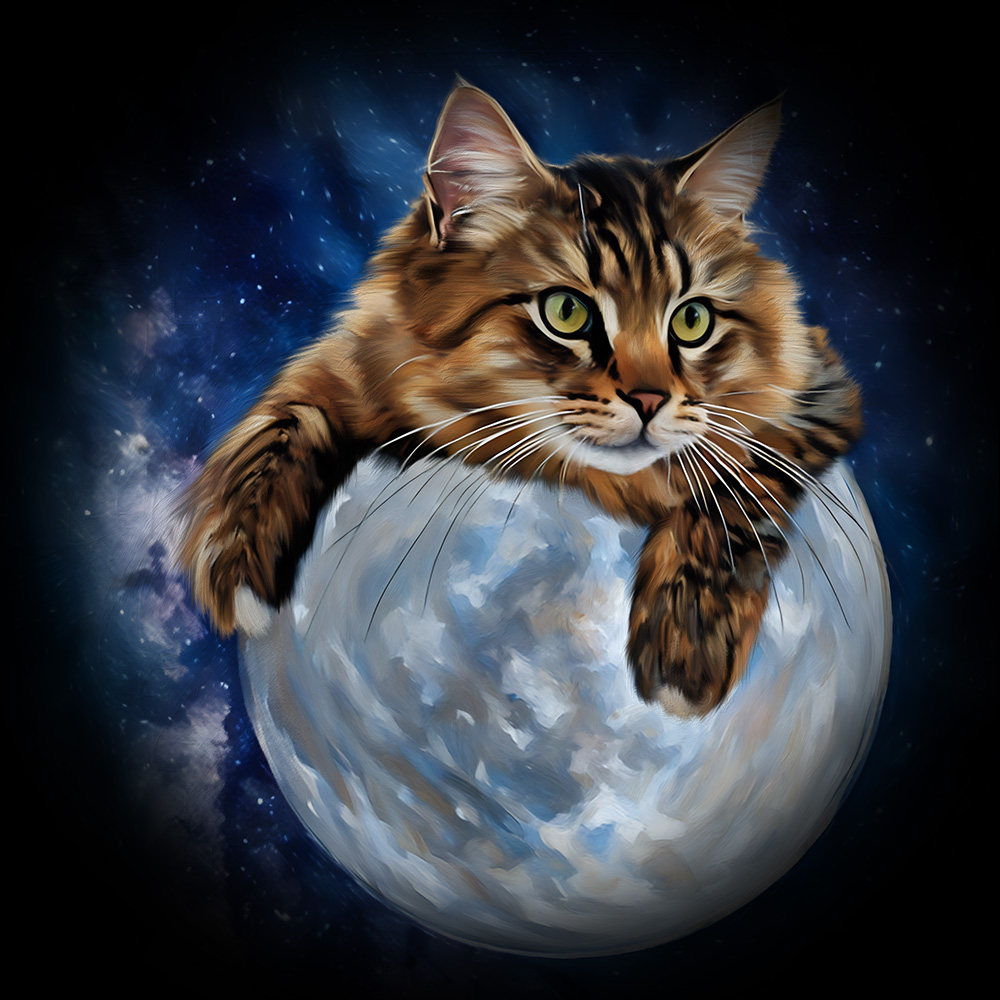
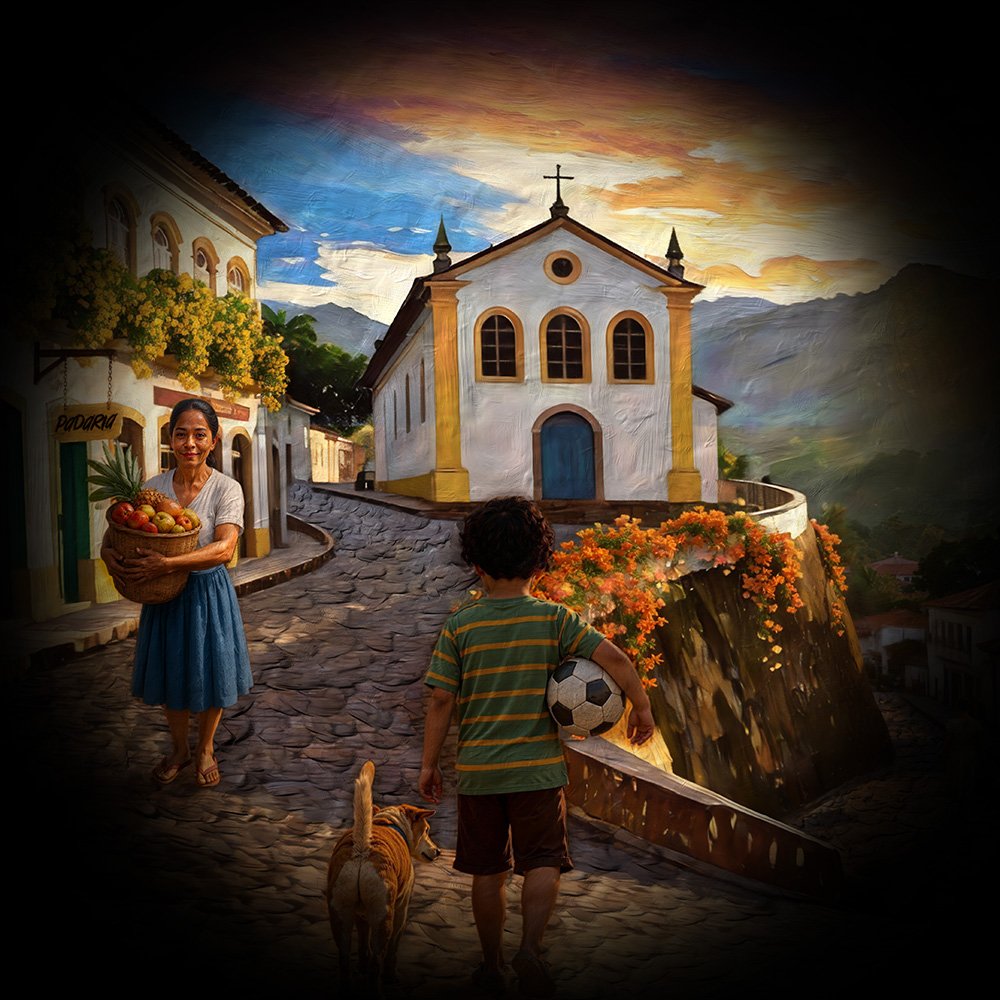
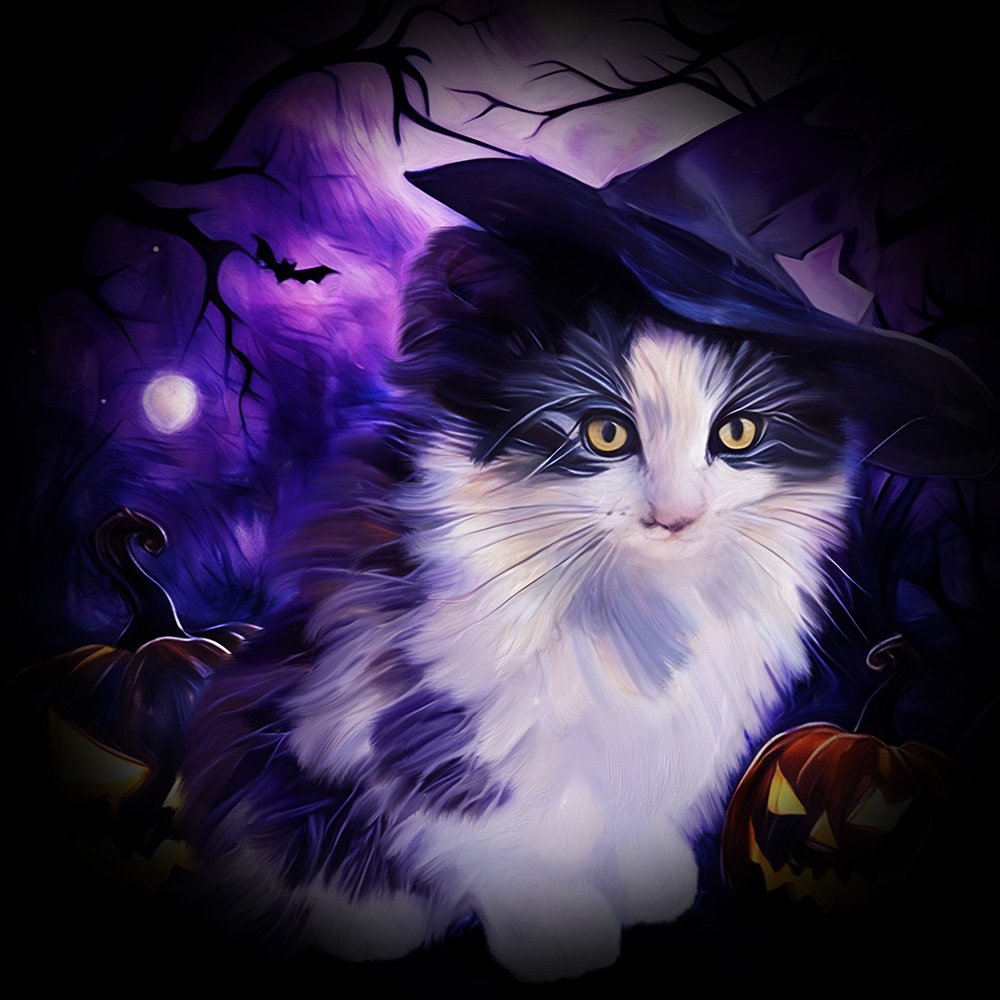
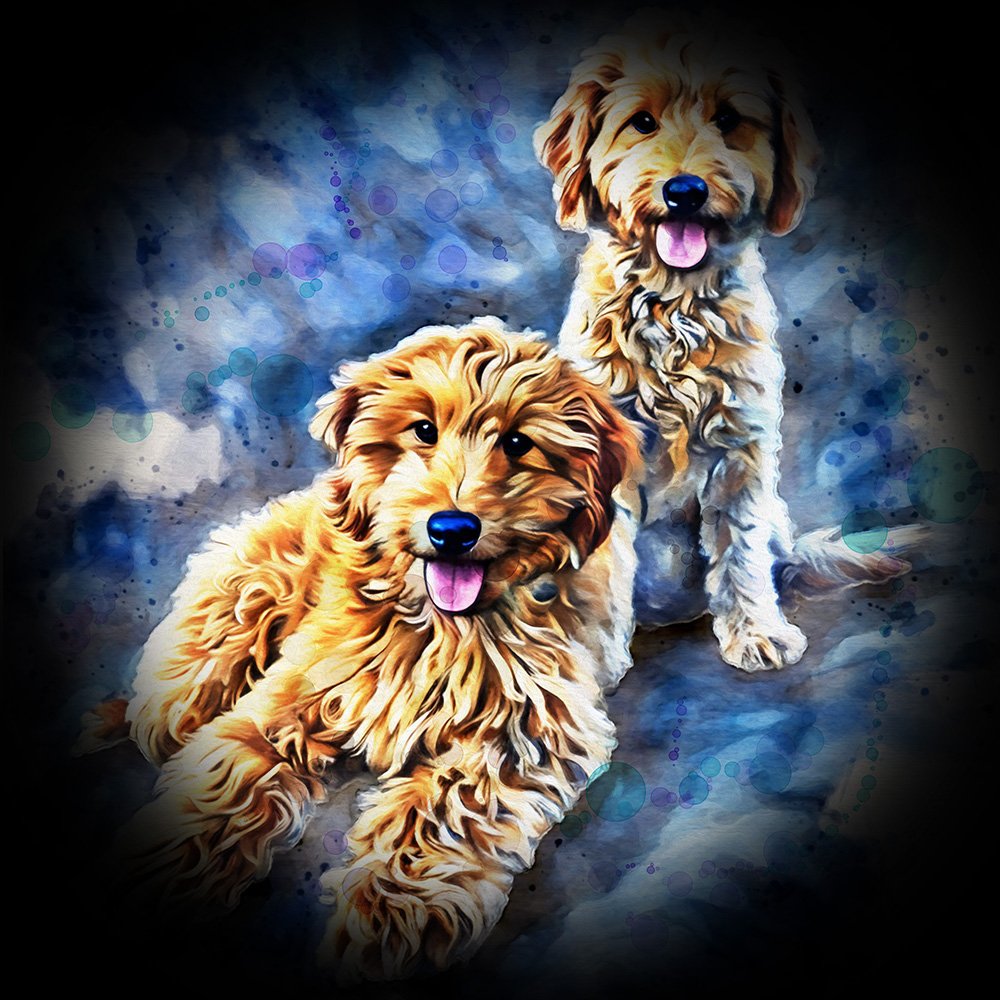
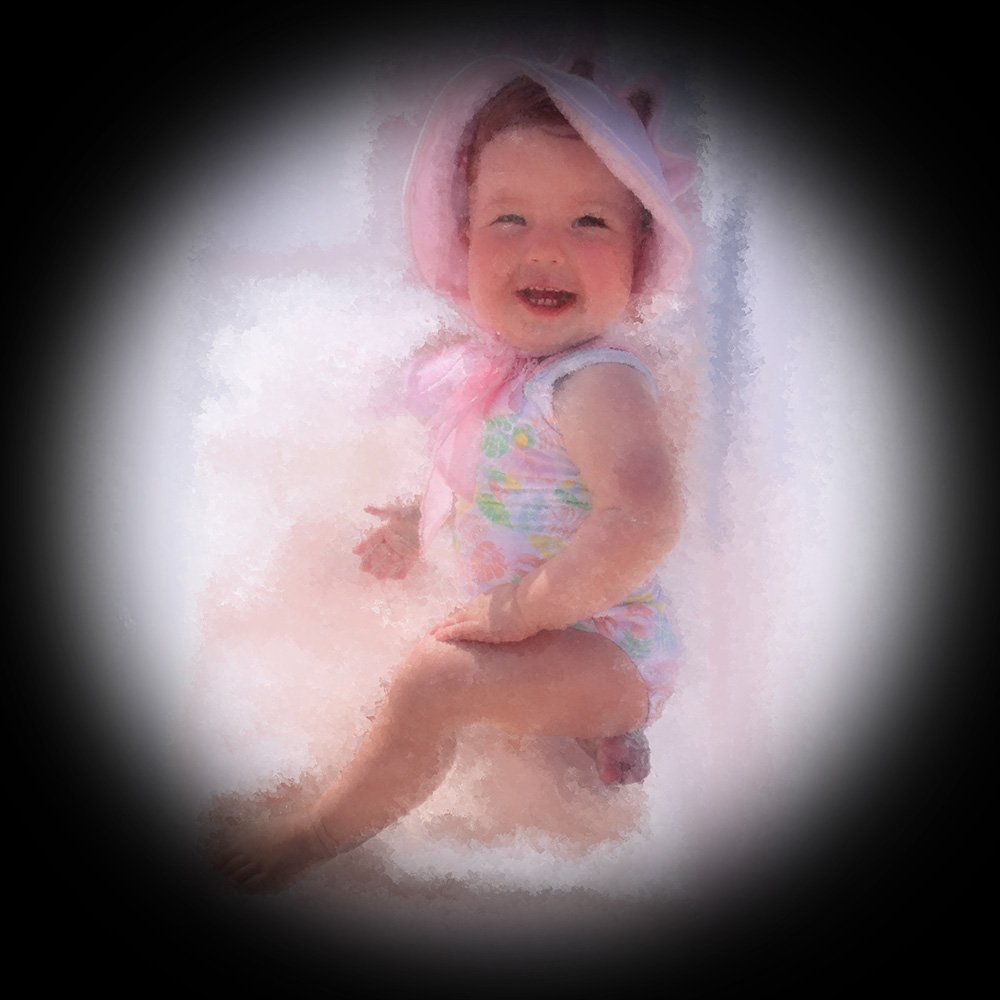
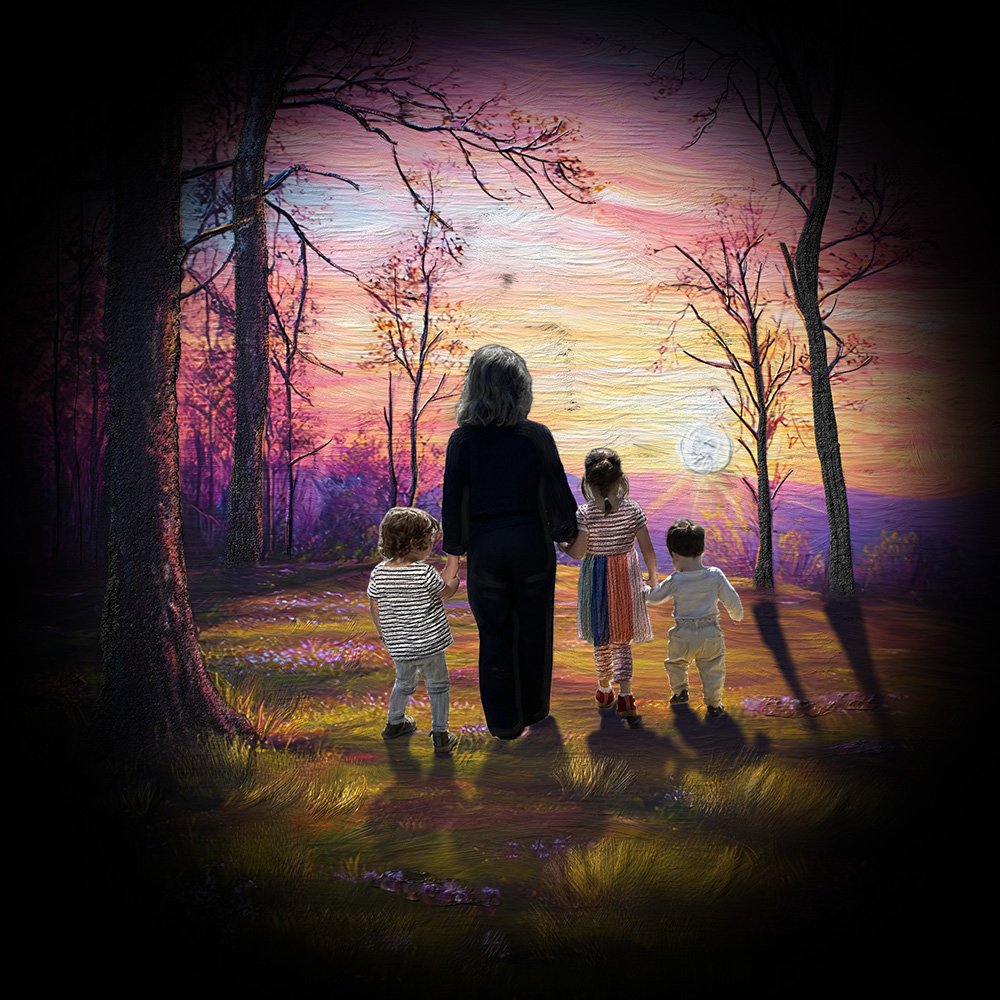
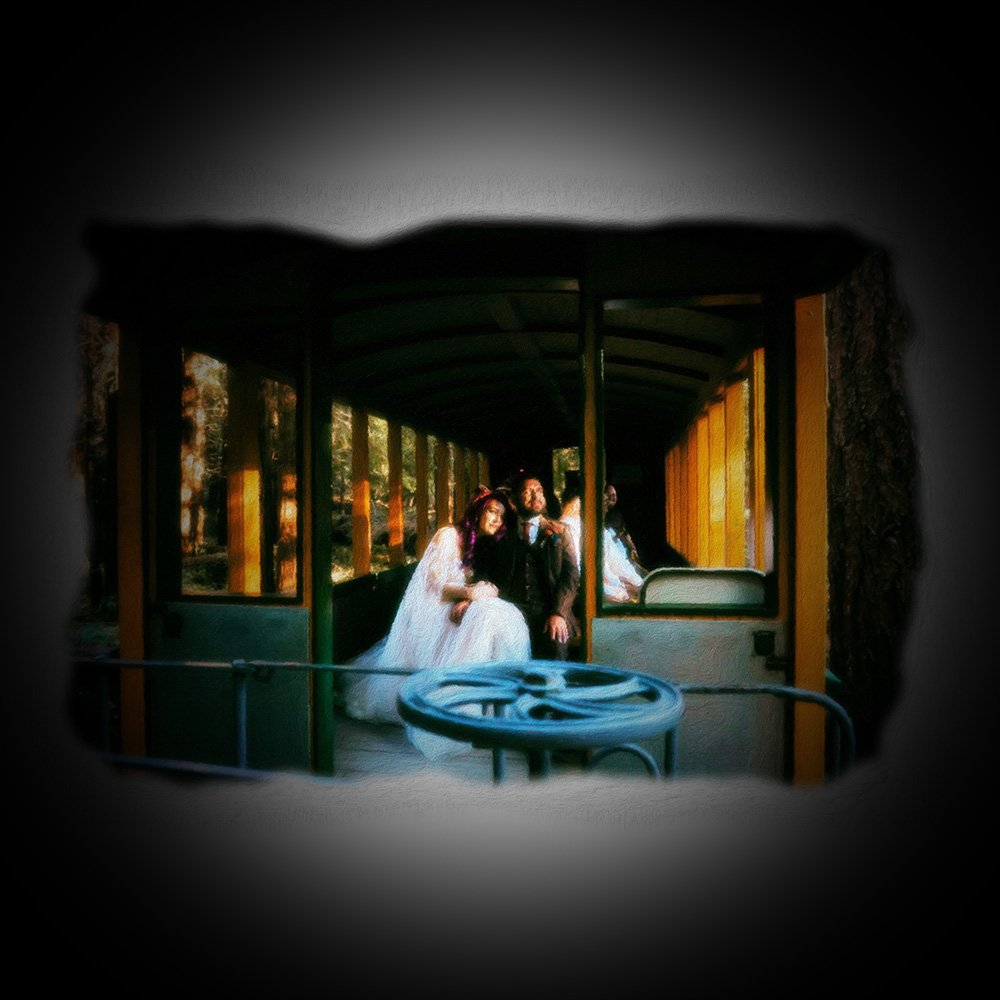
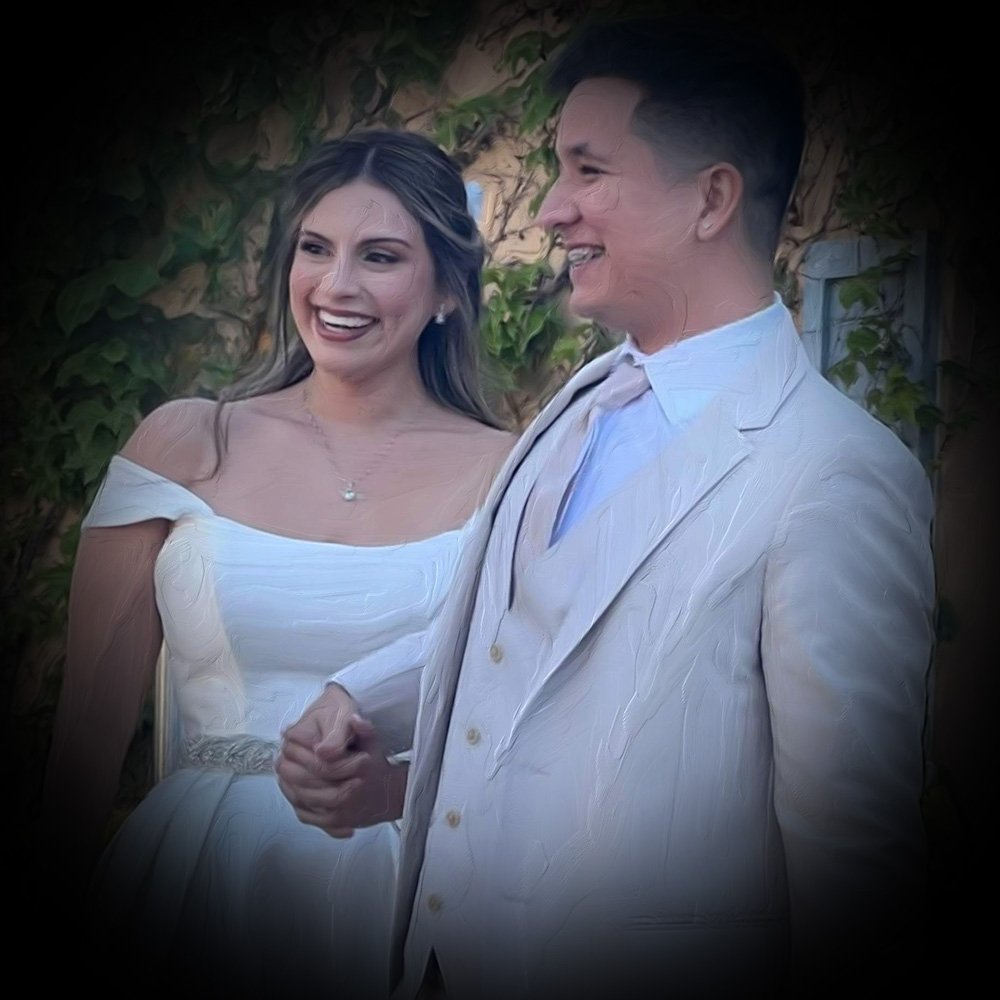
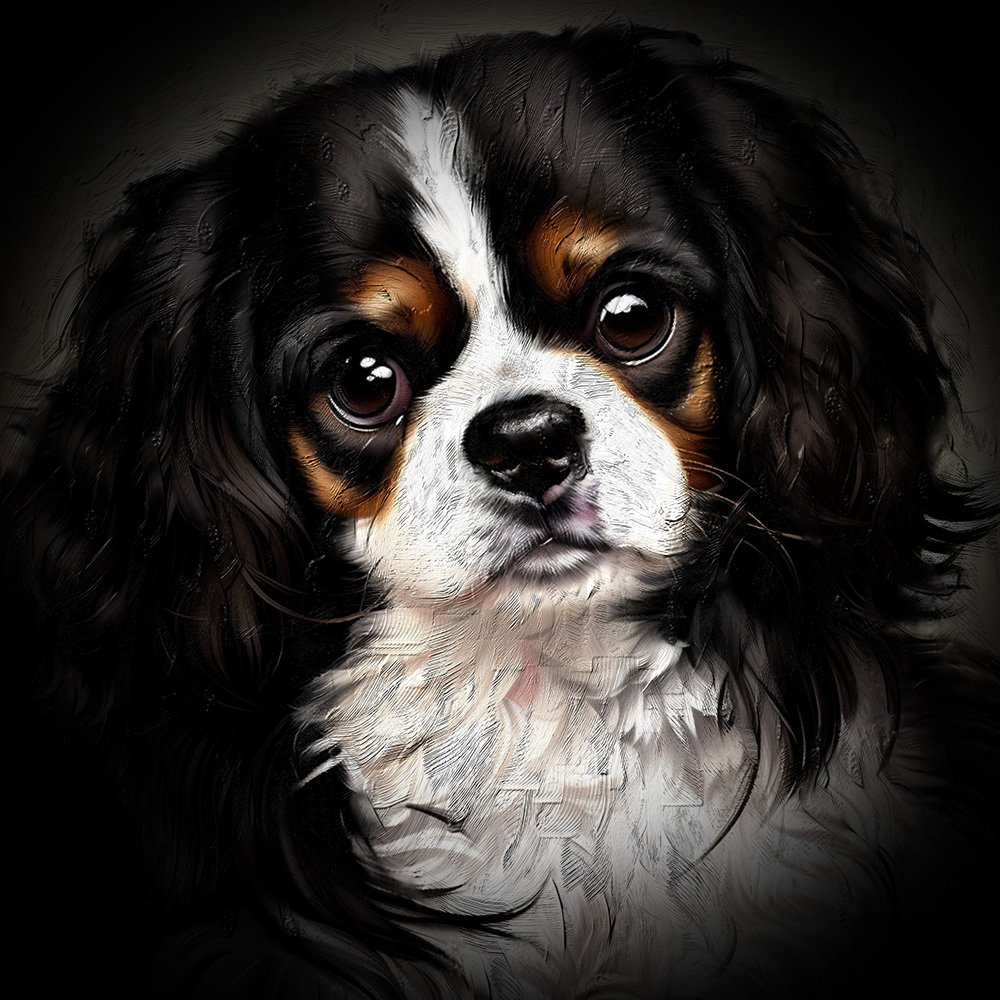
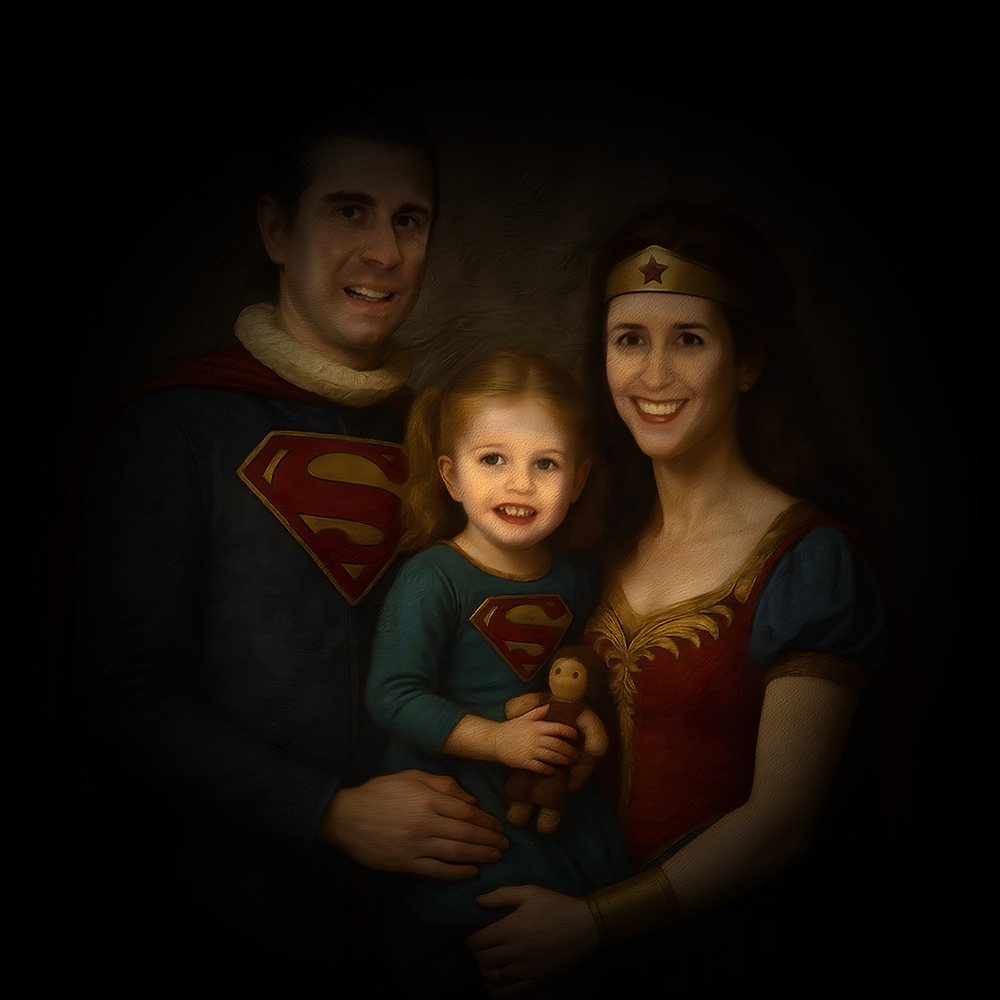
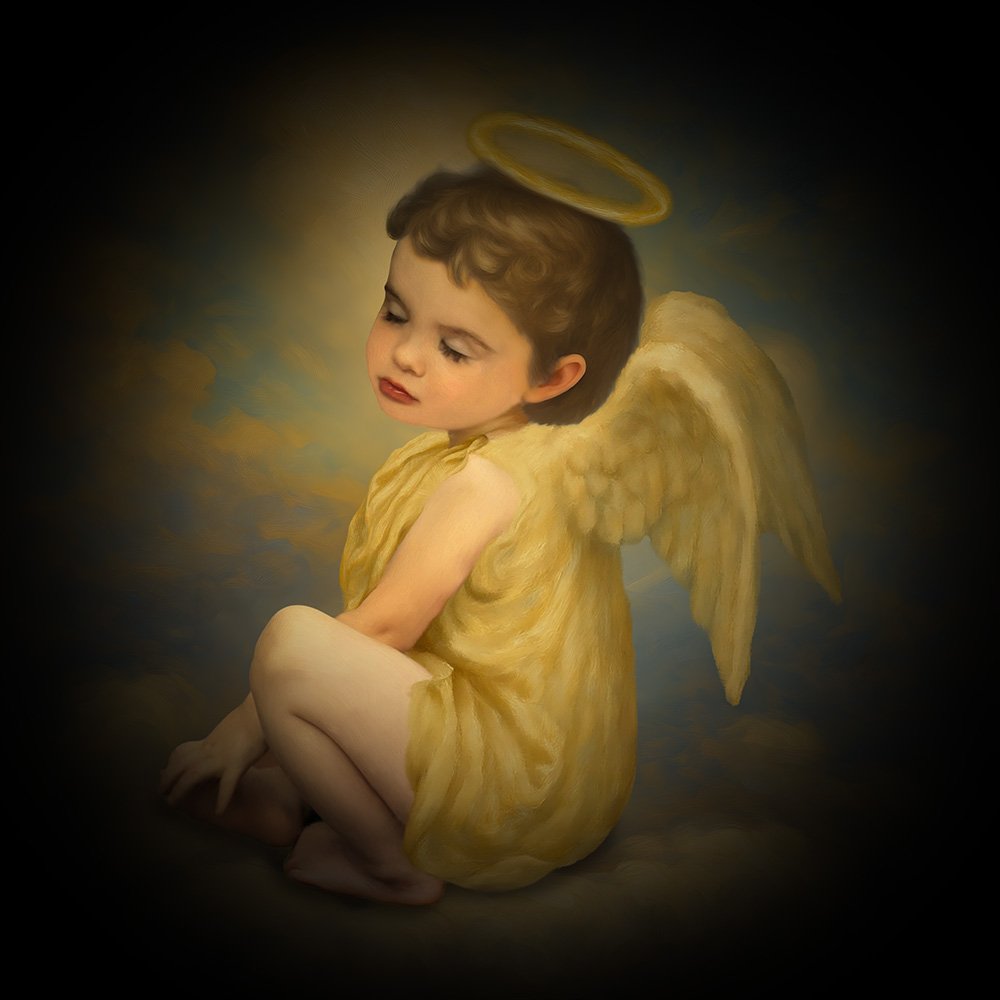
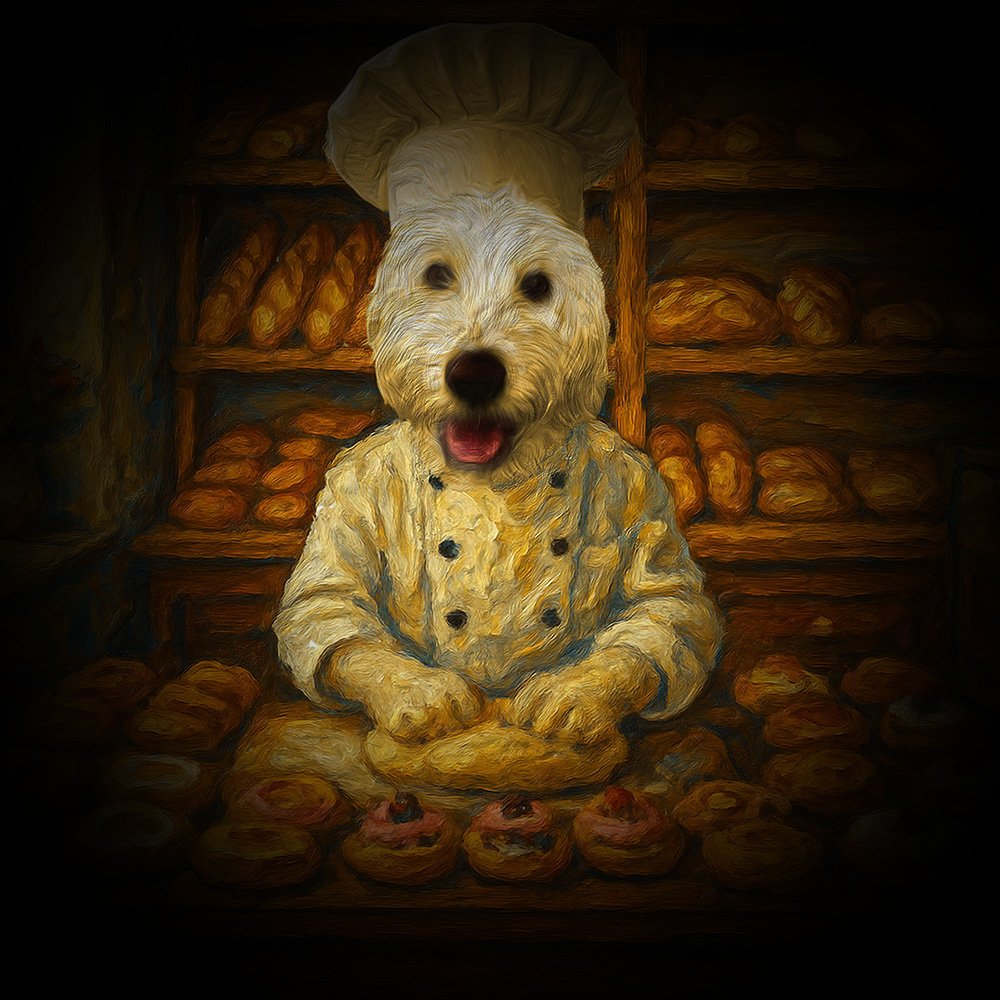
Digital painting is still fairly new to me, so my painting techniques vary with each one I do, and no two are exactly alike. Beacuse I am not a true “artist”, I can’t just freehand paint an image, I have to use the original photo as my base and “paint” overtop of it, then delete the original once I am done. This allows me to pull colors directly from the image, and ensure that my painting does not stray too far from the original image (though there is a bit of creative license to the end result, of course).
My digital painting process involves a number of different steps, starting with some color and lighting adjustments of the photo, then I try a dozen or so different filters to change the textures, or even make subtle changes to the outlines and shapes of the elements in the image. Different photos don’t always achieve the same effect with a given filter; the composition of that photo will alter them. So I run through them all and decide which one(s) give me the aesthetic I am looking for. I compile those into a layered PSD file and play with the blend modes and masks until I have a finished image I am happy with.
The last and most important step is taking the image into a program called Corel Painter, which has brushes that do an unbelievable job of mimicking real-life paint texture, with visible brush strokes and the illusion of depth and build up of the paint media. There are literally thousands of different brushes, and I have only used a fraction of them! I use these brushes to hand-paint the edited photo in my own (developing) style. This last step gives an added touch of realism to the digitally “painted” effect that you just don’t get with an AI generated painting.